A lantern can introduce a workshop before any character appears. Its glass, metal rim, and warm light give the viewer something concrete to notice. But a prompt that rotates the lantern, moves the camera, opens a door, and changes the lighting makes it difficult to tell which instruction caused a broken shape.
Treat this as a camera exercise with a stationary object. You will separate three kinds of movement and choose a clip that can introduce a scene or bridge two character shots. Here is how to write Vidu Q4 Preview camera prompts for prop close-ups in ArcLoop.
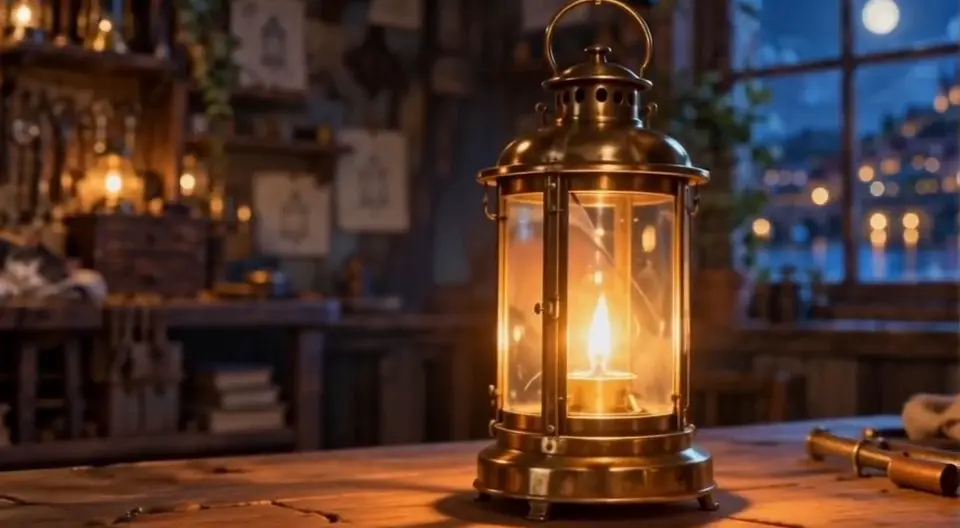
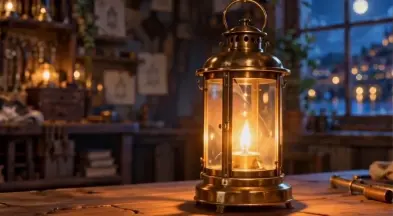
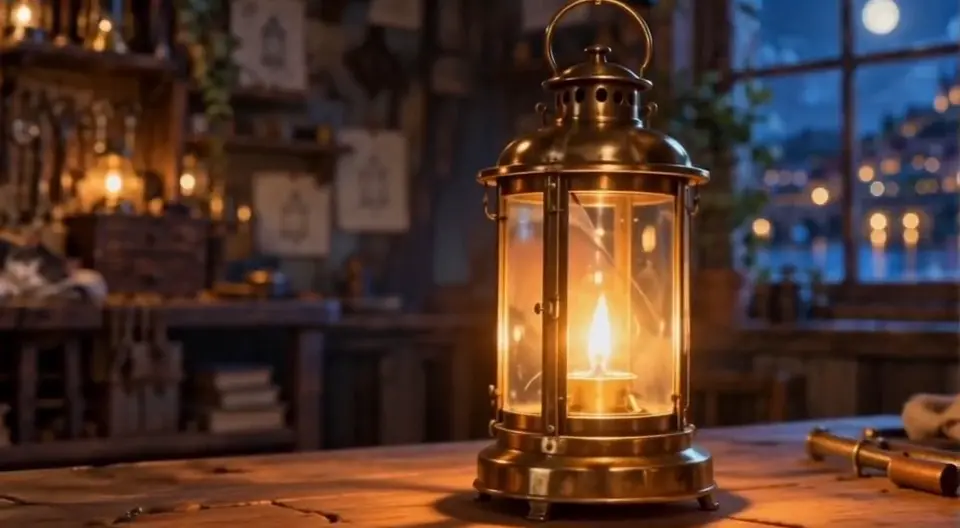
Frame extracted from the Vidu Q4 Preview lantern sample. The accompanying video example shows the actual camera movement.
The actual result reframes the reference as a lantern alone on the bench, with no person or hands. The camera moves gradually closer while the base stays in contact with the wood and the flame flickers inside the glass. The framing becomes tighter near the end. If your edit needs more room around the handle and base, choose an earlier out point or ask for a shorter camera move in the next attempt.
Separate camera movement from object movement
A push-in changes the object's size in frame. A sideways slide changes its relationship to the background. A static shot lets a small change in light carry the scene. These instructions have different visual consequences, so do not combine them in the first attempt.
For the lantern exercise, keep the object planted on the bench. Avoid hands, lifting, opening, or rotation. Removing contact between a hand and the handle makes this a focused test of framing and geometry rather than a character performance exercise.
How to build the prop shot in ArcLoop
-
Open your project, enter Canvas, and add a video node. Select Vidu Q4 Preview and attach the prop reference. Use a reference where the outline, base, and important surface details are visible.
-
Choose first-frame mode if your image already has the close-up you want. Choose reference-to-video if you want a new framing based on a wider reference. The current integration does not accept a video as the movement reference.
-
Describe one camera instruction and explicitly keep the prop still. Name a practical endpoint such as “stop before the top of the lantern leaves the frame.” Avoid asking for a dramatic reveal behind an object whose hidden side has no useful reference.
-
Keep the first comparison short and use the same settings. The accompanying example uses three seconds at 540p with generated audio off. Check the current estimate before generating a variation.
-
Compare the result against the shot's job. An establishing insert needs a readable silhouette and setting; a detail insert needs legible texture. Select the take that supplies that information instead of choosing the largest movement.
Three camera directions for the same prop
Attach the right reference and replace the named objects through the asset selector. These are three separate alternatives, not instructions to concatenate into one generation. The sample video demonstrates the lantern setup; each new variation still needs its own review.
A slow push toward detail
Close shot of @Brass Lantern resting on the bench in @Lantern Workshop. Move the camera slowly forward along a straight path, keeping the lantern centred and completely inside the frame. The lantern remains stationary with its base touching the bench. Preserve the handle, glass panels, and metal proportions while the warm reflection becomes easier to see. Keep background tools soft and the light direction unchanged. End the movement gently before the top of the lantern reaches the frame edge. No hands, no object rotation, and no cuts.
A small sideways slide
Close shot of @Brass Lantern on the bench in @Lantern Workshop. Slide the camera a short distance from left to right while keeping the lantern fully visible. Let the background shift naturally behind the object without turning this into an orbit. The lantern does not rotate or move across the bench. Preserve its base, handle, and glass geometry throughout. Keep the warm light steady and the movement slow enough to read the silhouette. Stop after the small change of viewpoint, with no people entering and no cut.
A still composition with living light
Locked close-up of @Brass Lantern resting on the bench in @Lantern Workshop. Keep the camera and the lantern still. Allow only a subtle change in the warm light inside the glass and a faint movement of dust in the background. Preserve the handle, glass edges, and the shadow where the base touches the bench. The shot should feel quiet and inhabited without adding a person or a moving tool. Maintain the same composition from beginning to end and finish with a calm hold. No zoom, rotation, or scene change.
Use edges and contact shadows to judge the clip
Trace the top rim, the handle, and the point where the base meets the bench. They should remain plausible while the camera moves. A sliding base suggests object movement; a handle that changes attachment points is a geometry failure. A sweeping background may indicate that a small slide became an orbit.
Compare the first, middle, and last moments. Do not accept a clip solely because its final frame looks good. If the camera goes too far, shorten the requested travel before changing resolution. If the reference hides the important edge, choose a clearer image before retrying.
Questions about camera prompts
Does a push-in create real new surface detail?
It generates a new video interpretation. Inspect any newly visible markings and geometry; do not treat invented detail as an accurate reconstruction of the prop.
Can I specify an exact camera path?
A text instruction expresses direction and intent. Review the actual movement and select an acceptable take; this workflow does not promise a measured or repeatable physical camera path.
Should I raise resolution to fix a warped handle?
Fix the input or simplify the movement first. Higher resolution provides more pixels, but it does not guarantee that a changing outline becomes correct.
Use the insert to introduce the next scene
Place the lantern shot before a character enters the workshop, or between two actions that need a short pause. If the prop is easy to recognise and the movement has a useful stopping point, the insert has done its job.