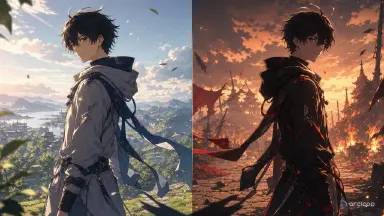
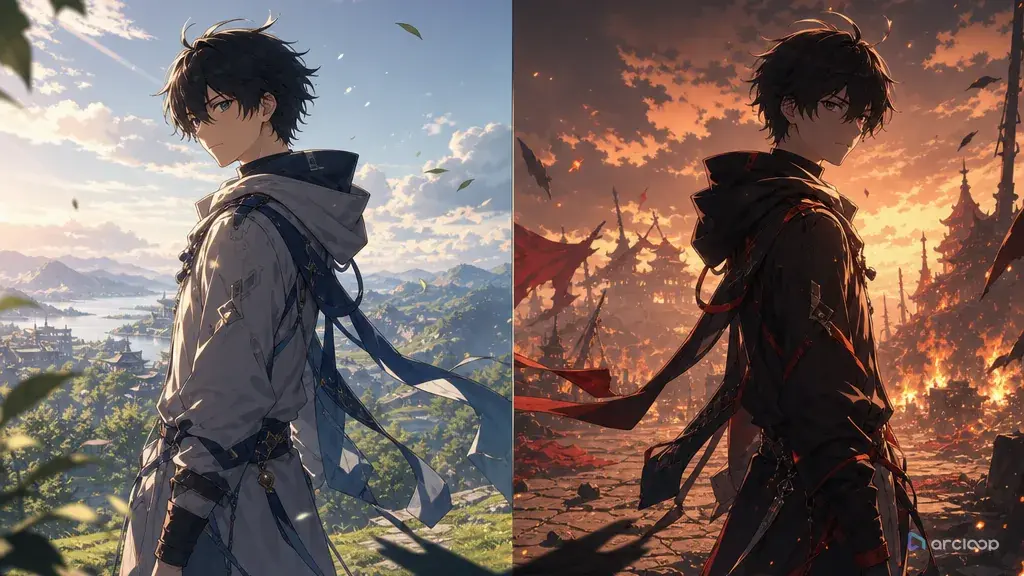
Introduction to Lighting Consistency Repair
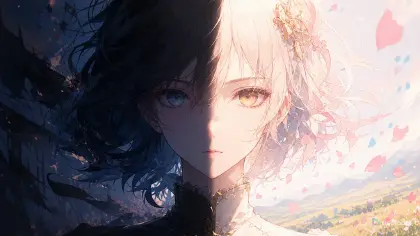
Inconsistent lighting is easy to miss until a clip plays back. The character is shaded like they are under a studio spotlight, but the alley behind them is moonlit. A desk lamp glows on the left, yet the face is lit from the right. The background says foggy morning; the hair rim light says nightclub. Nothing is technically broken, but the shot feels pasted together.
Lighting repair starts by making the light source part of the shot card. The prompt needs to say where the key light comes from, what kind of shadows it creates, which surfaces bounce color back, and what practical light is visible inside the scene. Without that, the model may light the character for beauty and the background for mood, creating two separate worlds.
Use this guide when AI anime shots look composited, when characters float against backgrounds, or when a sequence changes lighting logic from shot to shot. Start with Style Pack Templates, test movement in Cyberpunk Walk Depth Layers, and keep lighting notes attached to each shot inside ArcLoop Worlds.
Core Principles for Lighting Consistency
Choose one dominant key direction. Left window, overhead vending sign, sunset behind the subject, or desk lamp below the face: pick the source that explains the main highlight and shadow. Multiple strong keys create confusion fast.
Make shadows obey the scene. Shadow length, softness, and direction should match the light source. A candle gives soft local glow. Harsh afternoon sun gives crisp cast shadows. Neon signs create colored edges but should not erase form.
Use practical lights as evidence. If a lantern, monitor, aquarium tank, stove, or train door is the reason for the light, put it visibly in the shot or just outside frame. The viewer should understand why the character is lit that way.
Control bounce color. Background surfaces push color into the character: green grass, blue aquarium glass, red signage, warm wood floors. Add bounce only where it helps, usually on shadow edges or underside planes.
Keep exposure stable across the clip. AI video can brighten the face every time it moves. If the scene is dim, say "do not auto-brighten the face" or "keep exposure consistent during the turn."
Separate style from lighting. "Cinematic anime" does not define a light source. Pair style words with practical directions: warm desk lamp from lower left, cool window fill from upper right, soft shadow under the chin.
Step-by-Step Lighting Repair Prompt Method
Start with the failure. Write one sentence: "the face is lit from the opposite side of the window," "the character has no shadow on the floor," or "the background is night but the skin is midday bright."
Identify the source of truth. Use the storyboard, previous approved shot, or environment design to decide the real light direction. If the set contains a visible lamp, that lamp usually wins.
Write a lighting map. Include key light direction, fill level, shadow edge, bounce color, and exposure ceiling. Keep it short enough to compare while reviewing the draft.
Attach lighting to the camera. A side shot, close-up, and overhead angle reveal different shadows. If the camera moves, say how the highlights should behave during the move.
Protect the character's identity while repairing light. Do not let a lighting pass change hair color, outfit design, face shape, or prop placement. The repair target is illumination, not redesign.
Protect the character's identity while repairing light. Do not let a lighting pass change hair color, outfit design, face shape, or prop placement. The repair target is illumination, not redesign.
For broader scene construction, pair this workflow with How to Write 2D Anime Animation Prompts. For multi-shot continuity, use Workflow Templates and keep a lighting note on each card.
Where Lighting Decisions Live in ArcLoop
ArcLoop lets you keep lighting decisions close to the character and storyboard instead of rewriting them by memory. Put the light source directly in the shot description, keep a Visual reference asset in My Assets for the rendering look, and use Canvas to compare a new take against the approved lighting logic.
For a sequence, write the lighting state at the start and end of the shot. If a door opens to bright daylight, the next shot should inherit that daylight. If a monitor turns off, the next close-up should lose the blue face fill.
Use references deliberately. A character asset tells ArcLoop who the character is; it does not define scene lighting. A background reference image can define the practical light. A previous approved shot can define continuity. Do not ask one reference to solve identity, mood, and light direction at the same time.
When the draft is almost right, refine the smallest lighting layer. Preserve pose and action, repair key direction, restore floor contact shadow, or reduce exposure bloom. This keeps the fix cheap and prevents a good composition from being regenerated for no reason.
Example Prompt 1: Bakery Window Morning Light
Lighting repair pass for a 6-second 2D anime shot featuring @Mina Vale, an apprentice baker. Setting: small bakery kitchen at sunrise, with one large window on camera left and copper trays on the counter.
Problem to fix: the previous draft lit Mina's face from camera right even though the window is on camera left. Preserve the existing action: Mina sets a tray down, notices the bread rising, and smiles softly. Lighting map: warm sunrise key from camera left, soft shadow falling to camera right, faint golden bounce from copper trays under her chin, no hard spotlight from the opposite side. Keep exposure gentle; do not make the whole room glow.
Camera: medium shot, locked, counter visible in foreground. Style: clean 2D anime, warm morning kitchen, soft shadow edges, readable face. Preserve her braids, navy apron, oven mitt, and tray position. No right-side key light, no blown-out window, no floating character, no missing contact shadow, no text.
This prompt does not just ask for better lighting. It tells ArcLoop which side owns the key and how the shadow should fall.

## Example Prompt 2: Train Platform Under One Sign

```text
Create an 8-second 2D anime night shot for Daren Ishi, an original station maintenance student with cropped black hair, silver ear cuff, olive rain jacket, tan tool satchel, and black boots. Setting: a covered local train platform after closing, with one green service sign above the vending machines on camera right.

Lighting plan: the green sign is the only strong practical light. It creates a cool green rim on the right side of Daren's jacket and hair, while the left side of his face stays in soft shadow. The wet floor reflects the sign as a long broken stripe. The background stays dim; no random blue spotlight or warm sunset light.

Action: Daren kneels to pick up a dropped ticket, pauses when the sign flickers, then looks toward the empty track. Camera is low medium full-body, locked, with both boots touching the reflective floor. Use restrained 2D anime lighting, crisp contact shadows, subtle rain mist outside the platform. Keep identity and outfit stable. No daylight, no double shadows, no glowing skin, no extra passengers, no text or logo.
The visible sign explains the light. That makes the character and platform feel like they share the same space.
Example Prompt 3: Observatory Monitor Fill
Final lighting verification for a shot featuring @Seli Nor, a quiet telescope operator, in an astronomy club scene. Setting: school observatory at midnight, telescope dome open above, one monitor on the desk below frame center.
Create a 7-second close-up to medium shot. Seli leans toward the monitor, adjusts one dial, and looks up as reflected starlight crosses her glasses. Lighting rule: soft blue monitor fill comes from below front, faint moon rim light touches the top of her hair from the open dome, and the rest of the room remains dark violet. Keep shadows under the jaw and behind the shoulders; do not flatten the face with beauty lighting.
Style: delicate 2D anime line art, low exposure, subtle glass reflections, calm suspense. Preserve the shape of her glasses, hoodie, and dial hand. No warm lamp, no daylight, no random backlight from both sides, no overexposed face, no photorealism, no text.
This example uses two light sources, but each has a clear job: monitor fill below, moon rim above.

## Common Mistakes in Lighting Repair

The first mistake is writing "dramatic lighting" without naming the source. Drama is a result; the prompt still needs direction, shadow, color, and exposure.

Another mistake is adding bloom to cover lighting errors. Glow can make a shot prettier while hiding contact shadows and flattening the character. Fix the light map first.

Creators often forget bounce color. A character standing near a red sign should not have the same shadow color as someone beside a blue aquarium tank.

Many drafts fail because the face is auto-brightened. If the scene is intentionally dim, say that the face should remain readable without breaking the room's exposure.

Finally, do not repair lighting by changing the whole style. A lighting pass should keep the character design, camera, and action stable unless those are also broken.

## Lighting Consistency Repair FAQ

### How do I know which light source should control the shot?

Choose the strongest visible or implied source that explains the story moment. A window, sign, monitor, lantern, doorway, or sunset can all be the key. Put that source in the shot card.

### What should I include in a lighting consistency prompt?

Include key direction, shadow softness, bounce color, practical light, and exposure rule. Then add what should remain unchanged: character identity, pose, camera, and palette.

### Can I use more than one light source?

Yes, but give each source a job. One can be the key, one can be a rim, and one can be a weak fill. Avoid several strong sources fighting across the same face.

### How does ArcLoop help with lighting continuity?

ArcLoop keeps the character asset, shot cards, and generated drafts together in one project, so you can compare a new clip on Canvas against the approved light direction and carry that lighting state into the next shot.

### When should I reject a lighting draft?

Reject it when shadows fall away from the stated source, the character has no contact shadow, the face is lit by an invisible spotlight, or the scene changes exposure during a simple movement.